
Ever get to that point where you’ve just got pictures coming out of your ears? Obviously, we do! Gone are the days of always just hanging one giant photo…boring! (Not to mention, how the heck do you choose just one?!) To help you out, here are some ideas for creating cool wall collages to display your favorite photos and art.
1. The Film Strip
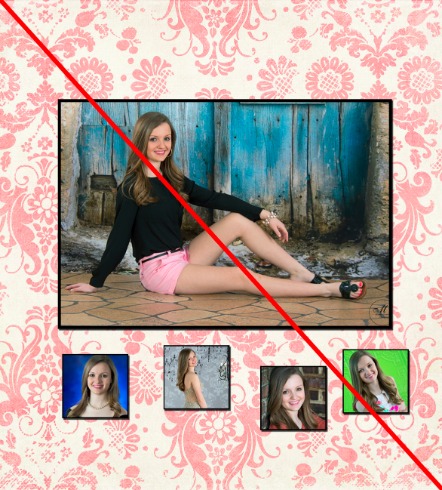
Make your favorite photo the star of the show and have other photos made smaller and square. Your best friend for this option is your measuring tape! For this to work, make sure each picture is evenly spaced from all surrounding pictures.
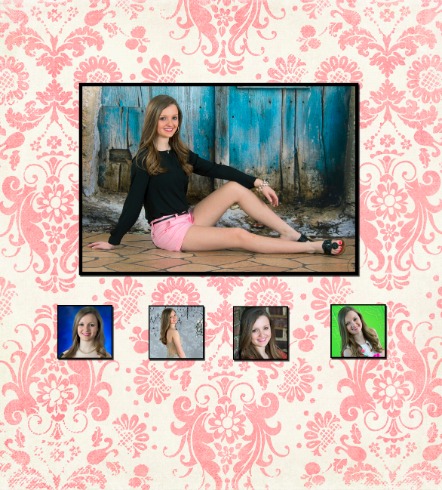
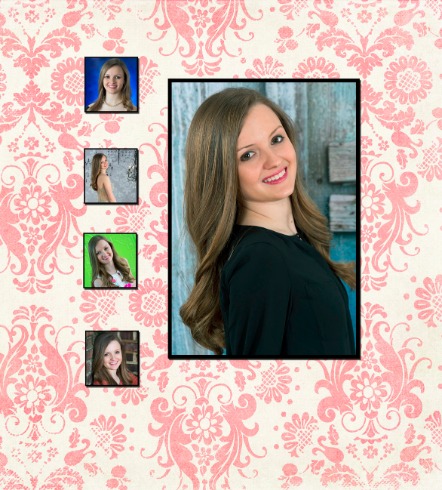
You can try variations of this to suit the orientation of your larger image and the number of pictures you want to display.

* Quick tip: make a small dot with chalk instead of pencil to mark your places before you start drilling! That way, it’s easier to wipe off when your masterpiece is finished.
2. The Scrapbook
This one’s pretty self- explanatory. Just have fun with it! Mix sizes and orientations for a carefree feeling, and don’t neglect those square ones!

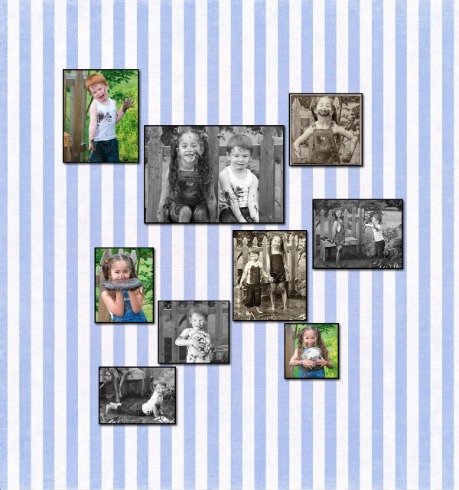
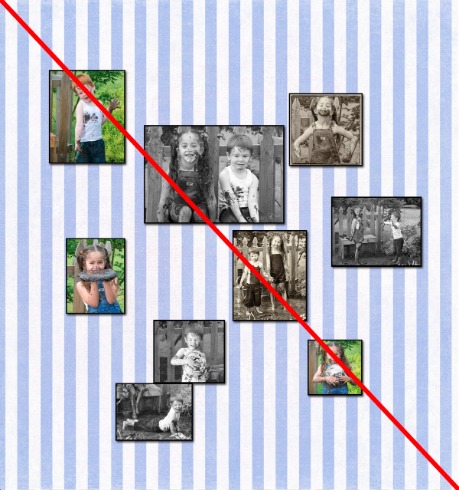
3. The Building Blocks
This one is for you more ambitious people. It is totally do- able (we did it with our new Peeka- Boo Pinup wall), but pre- planning is a MUST. Like the previous setup, this one uses a variety of sizes and shapes. Start mapping out an area on the floor that is the size of your wall space. Then, lay the pictures out so that they build on each other. Each picture should “connect” (they won’t really be touching on the wall, but close enough!) with AT LEAST one other picture. Like in the filmstrip method, equal spacing between your “connecting” items is a must!
Quick Tip: You can use thin, simple frames for your wall collages so the focal point is the picture, not the frame. Plus, thick frames take up more space than you might think... and you don't want your wall to look junky!
Well, there you have it! There are all kinds of ways you can group multiple images on a single wall to make the most of your space- so get drilling!!
Please share your creations on our Facebook page!
Leave a comment
0 Comments